
In this tutorial we describe the procedure that allows the insertion of learning materials in a course. In a different tutorial we have described in detail the procedure that allows the creation and configuration of a course. In this tutorial we will see how to insert the learning materials within the newly created course.
Let's take as an example the insertion of learning material in an "Excel" course
Go to Front end, click on the "COURSES" TAB and click on the "Enter course" button. Following our example, we will click on the "Excel" course button (Img.1)
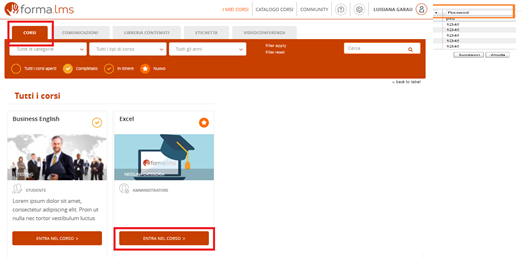
Img. 1
To insert the material, click on the menu item "Teachers Area / learning objects management/ course objects" and click on "New learning object" (Img.2)
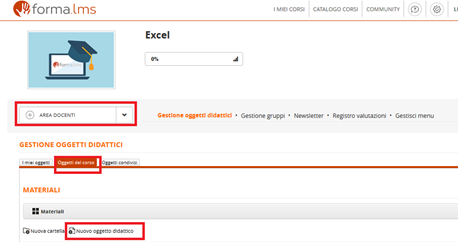
Img.2
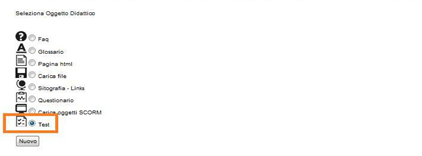
The screen that appears allows you to create different types of materials or to load pre-existing materials, such as FAQs, glossaries, tests, a list of links, html pages (materials that can be created on the platform) or SCORM objects / file upload (pre-existing materials on the platform that can be loaded). In our example, we will click on "Upload file" to proceed with the loading of a .pdf file and then click on the "New" button (Img.3)

Img. 3
In the following screen, insert the title that we want to assign to the .pdf that we are going to upload, for example "Excel Basic aspects" and, through the "Browse" button, we will insert the pdf. After doing that, click on the "Insert" button (Img.4)
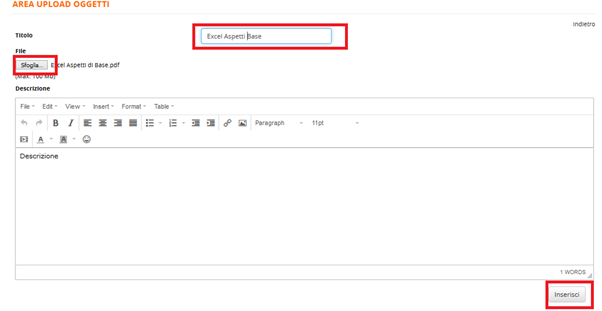
Img. 4
At this point, among the course objects, we will be shown our newly uploaded .pdf (Img. 5)
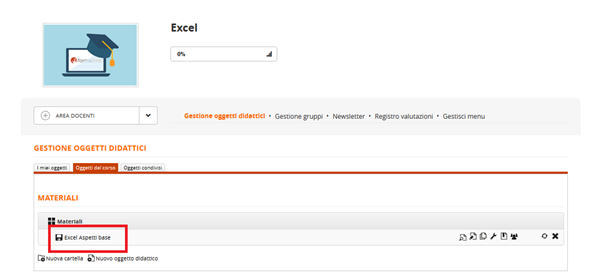
Img. 5
In the same way, we can proceed to load the other materials. Let's take the creation of a test as another example.
Click again on the "New Learning Object" button, and choose the Test option and then click on the "New" button (Fig.6)
Img. 6
We can now choose the test title and insert a short description. After the procedure, click on the "Create test" button (Img. 7)
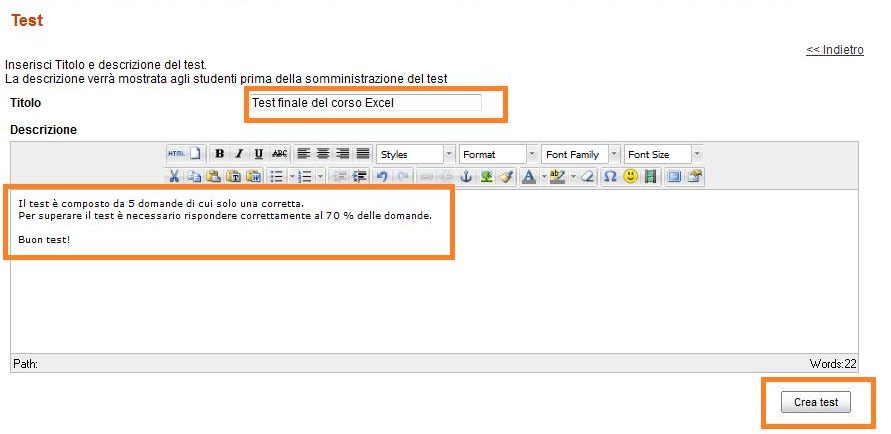
Img. 7
The test structure is now created. Let's move on to uploading or creating the questions and their answers. Click on the "Modify" icon (Img. 8)
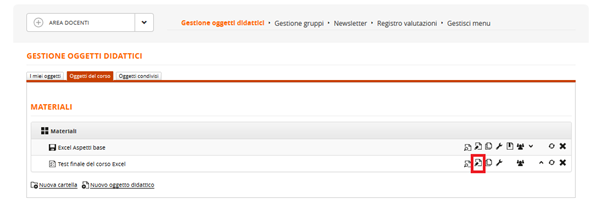
Img. 8
By clicking on the "Add a question" button you can see that there are different types of questions to be entered: open-ended questions, single-answer questions, multiple-answer questions etc.
In our example, we will insert a single-answer question (in which therefore only one answer will be correct) (Img. 9)
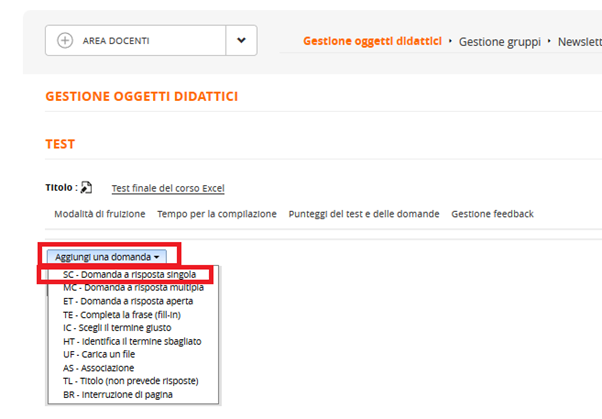
Img. 9
In the following screen, we must first enter the question and then the two answers. Remember to indicate the correct answer, to which a score will be attributed. In case you want to add further answers, just click on the "Add answer" button (Img. 10)
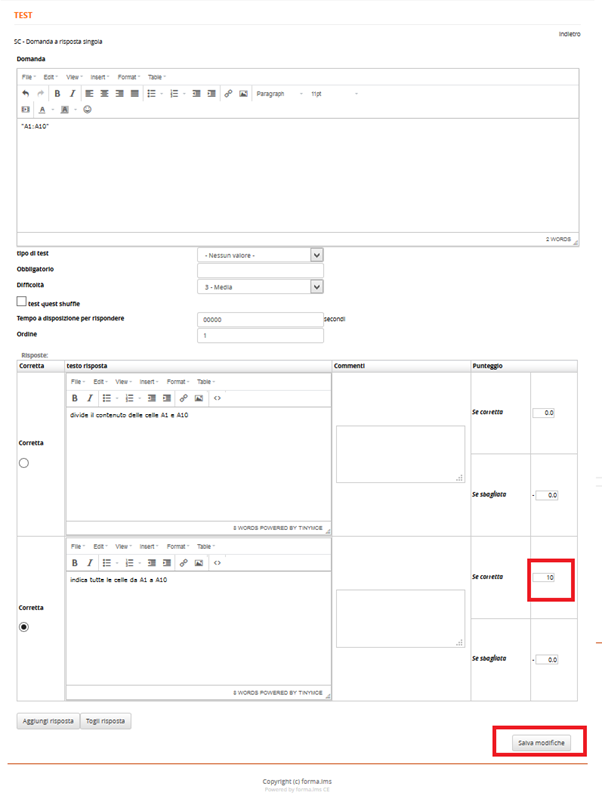
Img. 10
After clicking on the "Save changes" button, the initial test screen will be displayed with the insertion of the first question. You can then proceed to insert the other questions. Once two or more questions have been entered, it will be possible to decide the order and, at the same time, act on them by changing or eliminating them by clicking on the appropriate icons. (Img. 11)
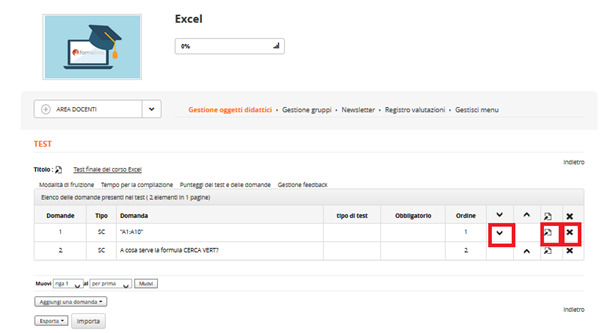
Img. 11
Our course is now created!